|
Over the past two months I have spent hours interviewing librarians and educators about how they have developed a makerspace in their schools/library. I have read countless scholarly articles about STEM Labs, Creative Common Areas, and Makerspaces and their positive impacts on students. Additionally, I have toured several spaces in order to develop my vision of what our makerspace will look like.
All of this research has guided my creation of a Makerspace Integration Plan. This is a three-year plan and works to slowly develop a space that fits our school. Despite all this research I am fully aware that the space needs to fit our school, students, and staff. My plan cannot stand on it's own. My integration plan must be readily adaptable based on the specific needs of the school. My goal over the next six months will be to create a committee of passionate teachers who see a need, a place, and a benefit in interactive, hands-on maker challenges in our school. These teachers will help develop this plan in a more systemic, comprehensive way than I can alone. I look forward to sharing my vision and creating a new vision based on the thoughts and ideas of others. Nonetheless, I'm excited to get my complete vision on paper. With this visual checklist, I can reflect, change, adapt, and make purposeful decisions for our school. Basically.... It's a great starting point as we walk into the school year!
0 Comments
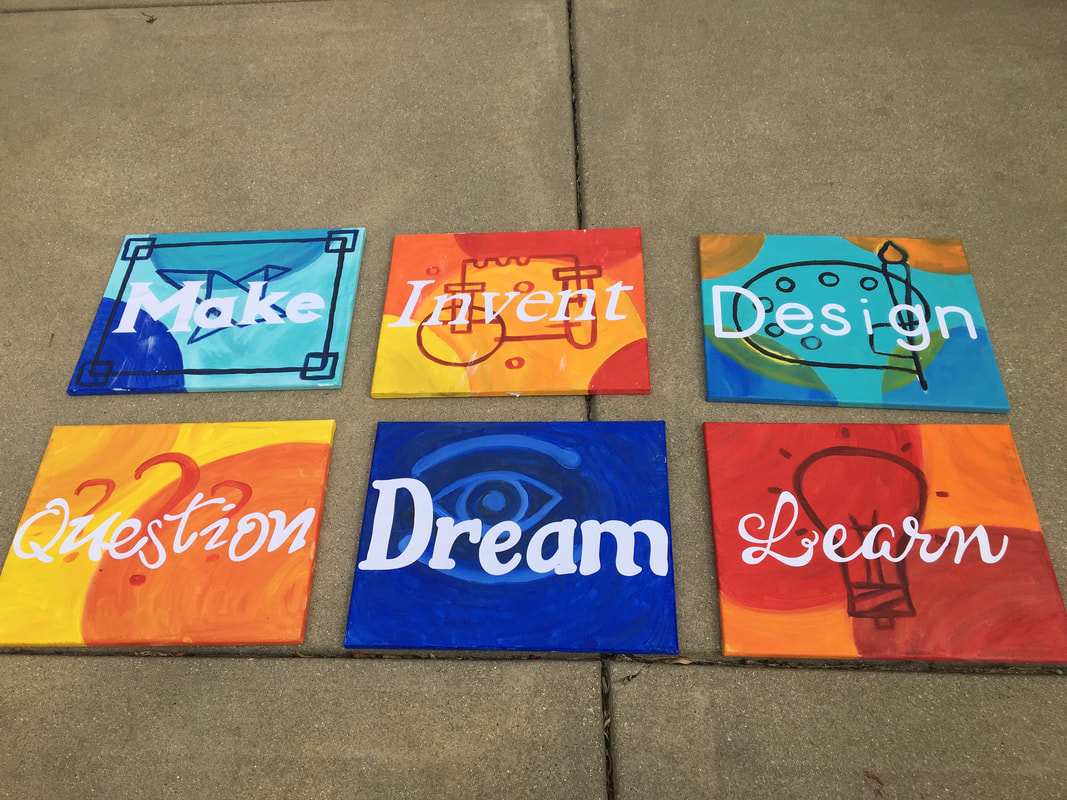 My goal for the Makerspace area was to inspire creativity. After putting up the tan LEGO wall, I thought I really needed some color on the off-white walls. I found this poster online which originally sparked the idea. I easily could have bought the print, framed it, and hung the poster up in the Makerspace. However, I felt it would be more powerful to MAKE the posters myself. -I bought six canvases from Wall Mart (12" x 16") -I bought some acrylic paint (Red, Blue, Yellow, Black, and White) -I used a Circuit and some white card stock paper -1 jar of Modge Podge 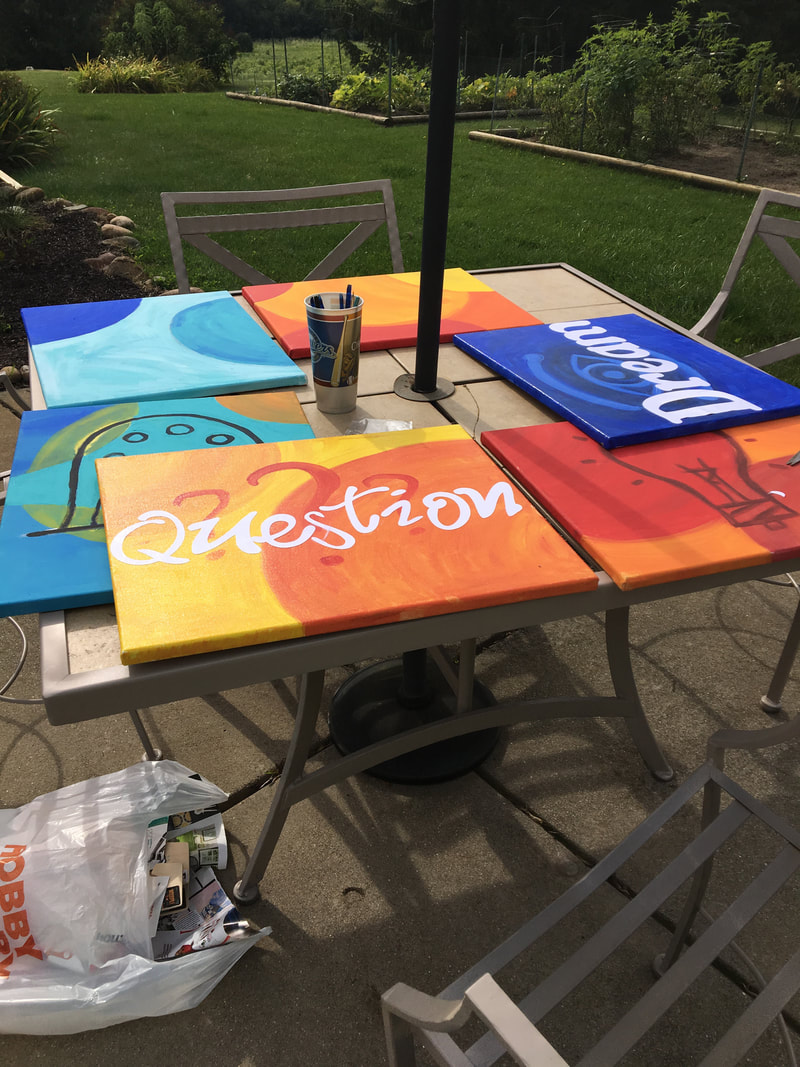 First, I used the circuit to cut out the words words Dream, Invent, Make, Question, Learn, and Design in different fonts. I made sure that each word fit on the canvas appropriately. Then, I painted each canvas with acrylic paint. Once I let that dry, I used Modge Podge to stick the words on top of the canvas. While these first six paintings are all my own, I am excited for school to start and get some new canvas ideas. I can envision having students create their own backgrounds and adding canvases that say words like Collaborate, Discover, Explore, and much more! This burst of inspirational color makes me excited for the school year to start and kiddos can finally start using this space! 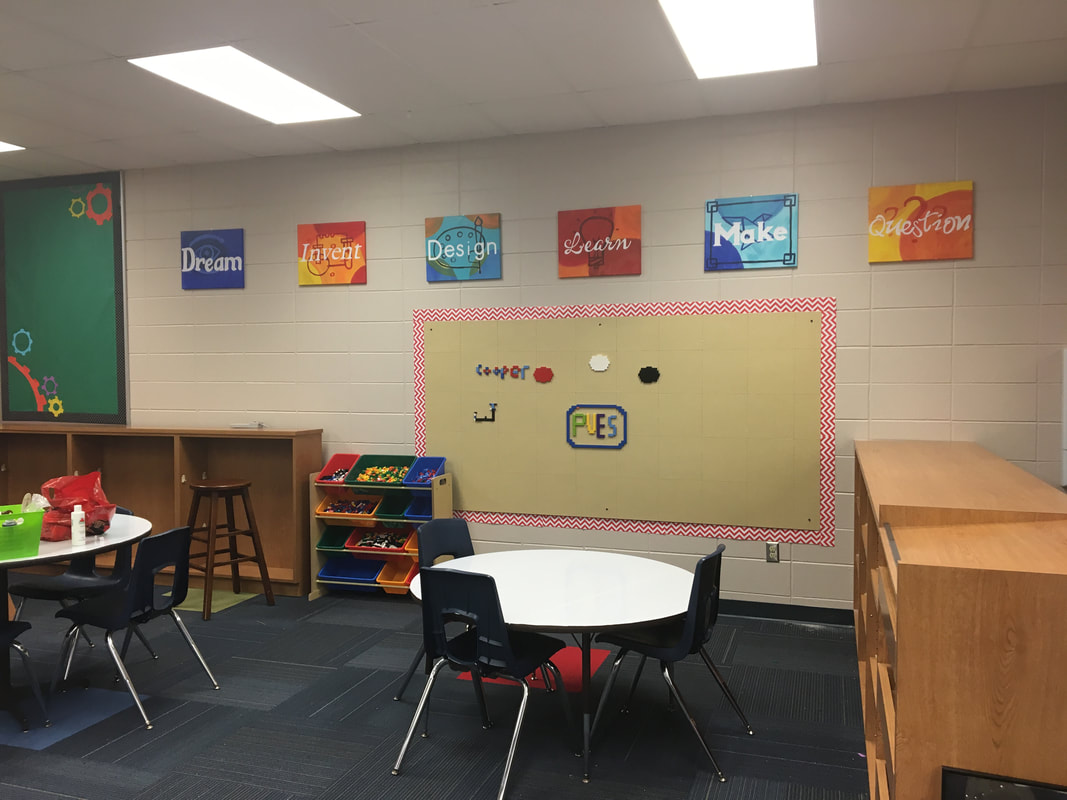 Now that I have an area created for my makerspace, I can really start creating work spaces. Due to the fact that I'm trying to work with what the library already has- I ended up with three different sizes and shapes for tables. Two circular tables (one short and one tall) as well as one long, rectangular table. Furthermore, each of these tables were different shades of brown. I wanted to make these tables work in my space, so I added some Dry-Erase contact paper on the top of them! The contact paper was really easy to put on the tables. I used the Duck Brand Deco Adhesive Laminate. I am so excited for the kiddos to use these to show their thinking!  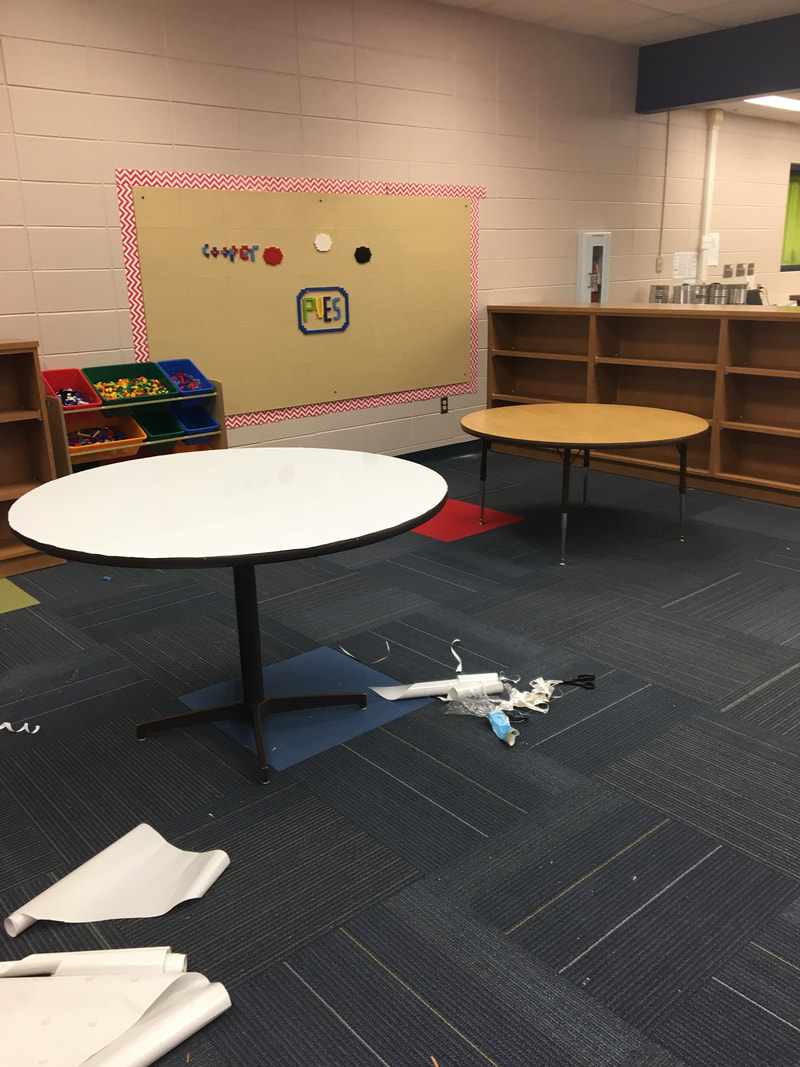 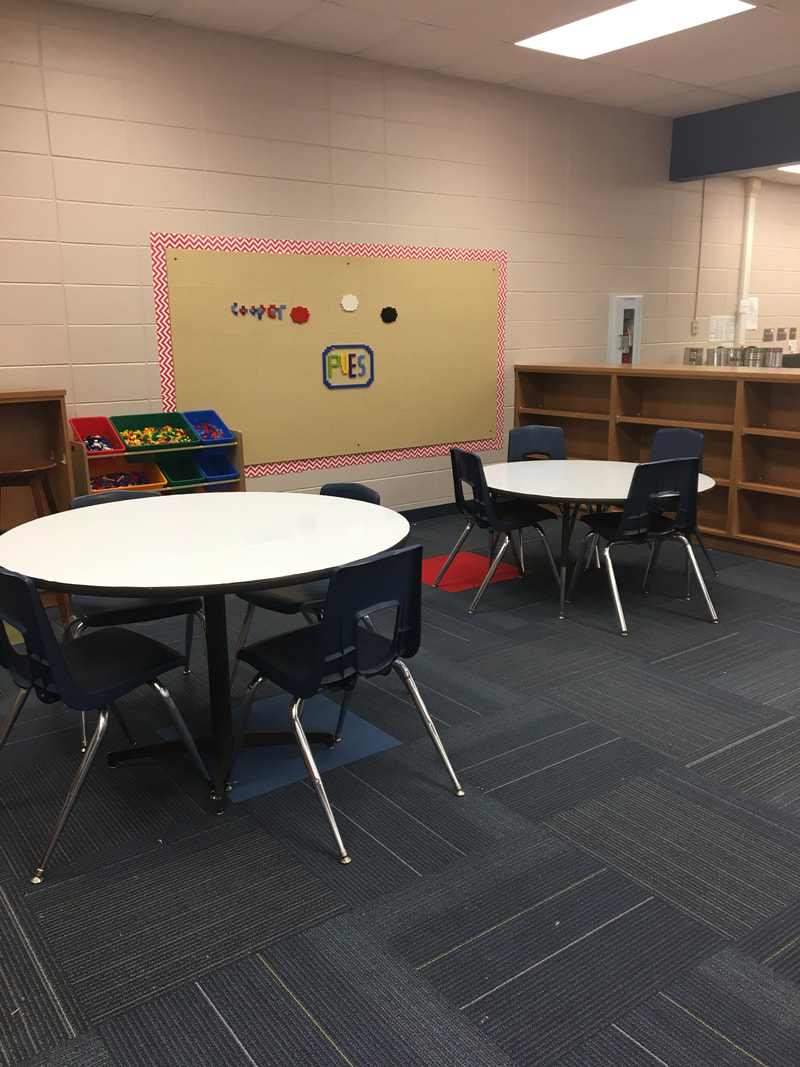 I decided to spruce up the bulletin boards with some fun messages. View my bulletin board transformation below! 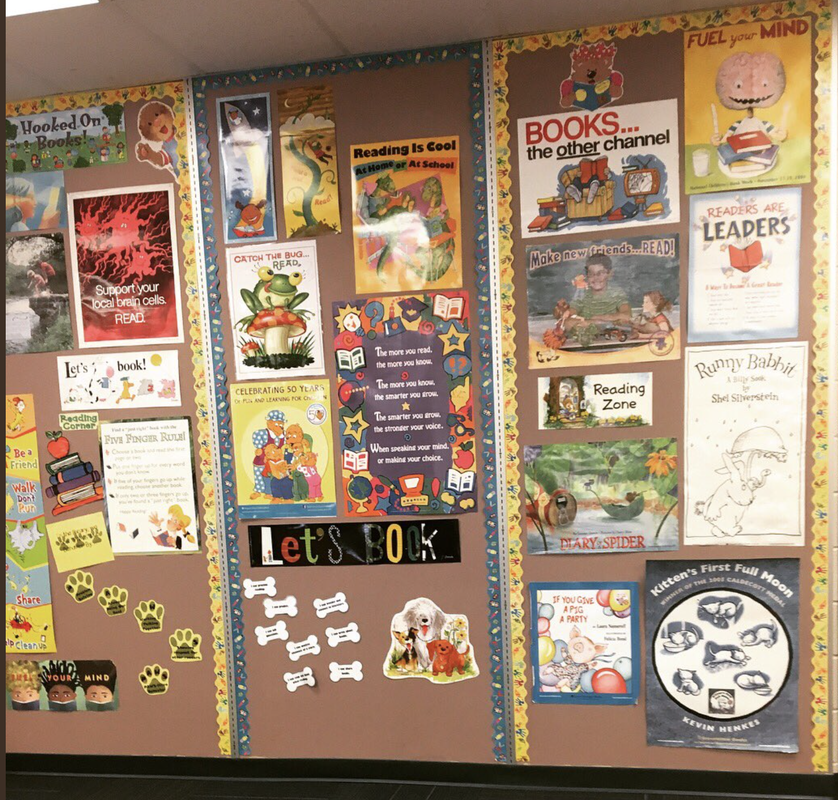   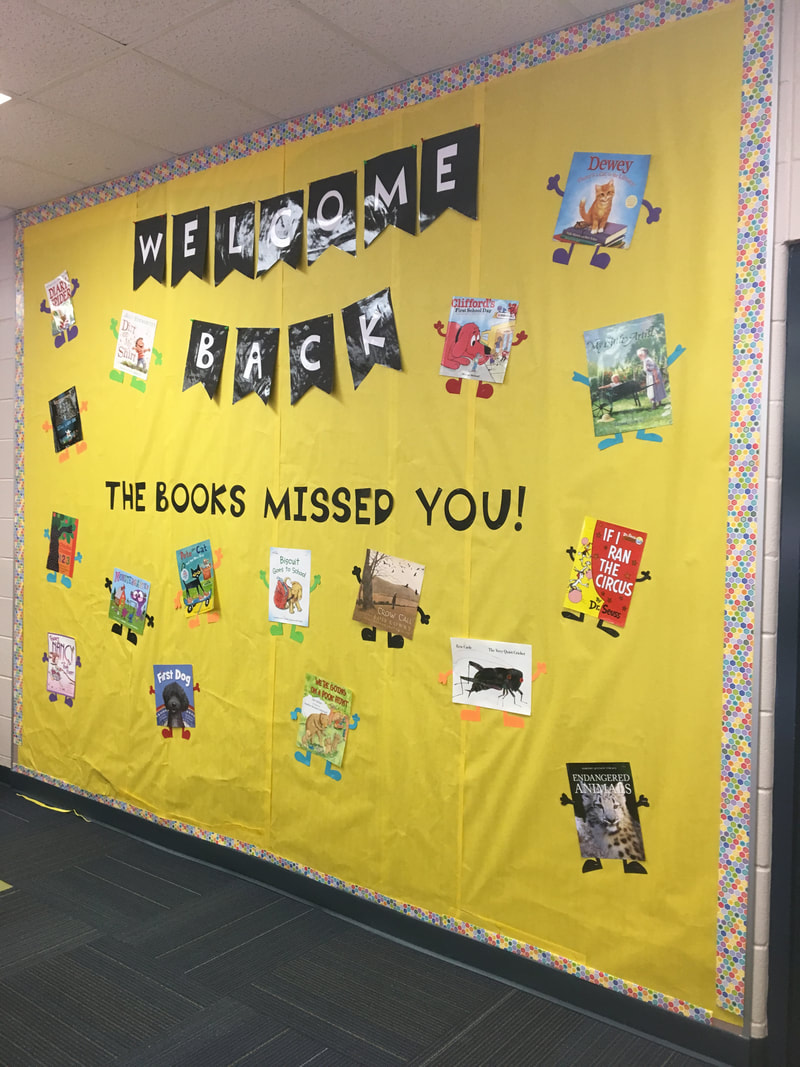  |
AuthorMy name is Christine Perkins. I'm a technology specialist/librarian and a passionate lifelong learner. 
Archives
December 2017
Categories |
 RSS Feed
